

Quickstart
KurrentDB Quickstart
This quickstart will guide you through getting started with KurrentDB using GitHub Codespaces.
Info
GitHub Codespaces provides an instant and preconfigured development environment in your browser for this quickstart. To learn more about Github Codespaces, click here.
Objectives
In this quickstart, you will:
- Start a KurrentDB server using Docker in GitHub Codespaces.
- Append an event to KurrentDB with sample code.
- View the appended event using the Admin UI.
- Read the appended event with sample code using the KurrentDB client.
Prerequisites
Before starting, ensure you have the following:
- A GitHub account to use GitHub Codespaces.
- Basic knowledge of one of the development languages/platforms below.
- Familiarity with command-line operations.
Tips
If you have trouble with this quickstart, you can find more help in the "KurrentDB From Scratch" tutorial series on Kurrent Academy.
Step 1: Set up Your Codespace
- Choose one of the development languages/platforms below and click the Codespaces link:
| Quickstart Language/Platform | Link to Codespaces |
|---|---|
| Quickstart Language/Platform | Link to Codespaces |
|---|---|
| Quickstart Language/Platform | Link to Codespaces |
|---|---|
| Quickstart Language/Platform | Link to Codespaces |
|---|---|
Login to GitHub if required.
Follow the instructions to create a new Codespace.
Wait for your Codespace to build. This can take up to a few minutes.
Once complete, you will see a welcome message in the terminal:
Hello!👋 Welcome to the KurrentDB Getting Started Quickstart Guide.Tips
For this quickstart, you can safely ignore and close any Codespaces notification that appears on the bottom right of the page.
Step 2: Start the KurrentDB Server
Once your Codespace is loaded, run the following command in the terminal to start the KurrentDB server:
./start_db.shThis is a custom script written for this quickstart to help start KurrentDB in Docker.
You will see the below message printed in the terminal:
🚀 KurrentDB Server has started!! 🚀

URL to the KurrentDB Admin UI 👉: https://XXXXXXXXX.XXX
(Optional) Learn more about how to start KurrentDB in Docker and the start_db.sh script
Understanding How to Start KurrentDB Server in Docker and How start_db.sh Works
start_db.sh is a custom script written for the quickstart that will:
- Check if Docker is currently running locally
- Pull the KurrentDB server Docker container
- Start the server in Docker
- Print the KurrentDB Admin UI URL in the terminal
To see how to start the KurrentDB server in Docker, follow these steps
Run the following command to open
start_db.sh:code ./start_db.shTips
Alternatively, you can locate and open the file from the EXPLORER window found on the left side of Codespaces. You can find the path to the file in the command above.
In step 3 of the script, review how KurrentDB is started with the
docker runcommand:
docker run                               # Start a new Docker container using the 'docker run' command
     -d \                                # Run the container in detached mode (in the background)
     --name esdb-node \                  # Assign the container a name ('esdb-node' in this case)
     -p 2113:2113 \                      # Map port 2113 on the host to port 2113 in the Docker container. Required for the KurrentDB
     kurrentplatform/kurrentdb:latest \  # Specify the Docker image to use, in this case, the latest supported version of KurrentDB
     --insecure \                        # Run KurrentDB in insecure mode, without authentication and SSL/TLS security (usually for development)
     --run-projections=All \             # Enable all projections in KurrentDB, including system and user projections
     --enable-atom-pub-over-http         # Enable the AtomPub API over HTTP. Required for the KurrentDB Admin UI
Review other parts of the script if you wish.
Feel free to modify and re-run the script in your Codespace.
Info
For more information about other KurrentDB parameters and settings, click here.
Info
To view the source code in Github, click the link below:
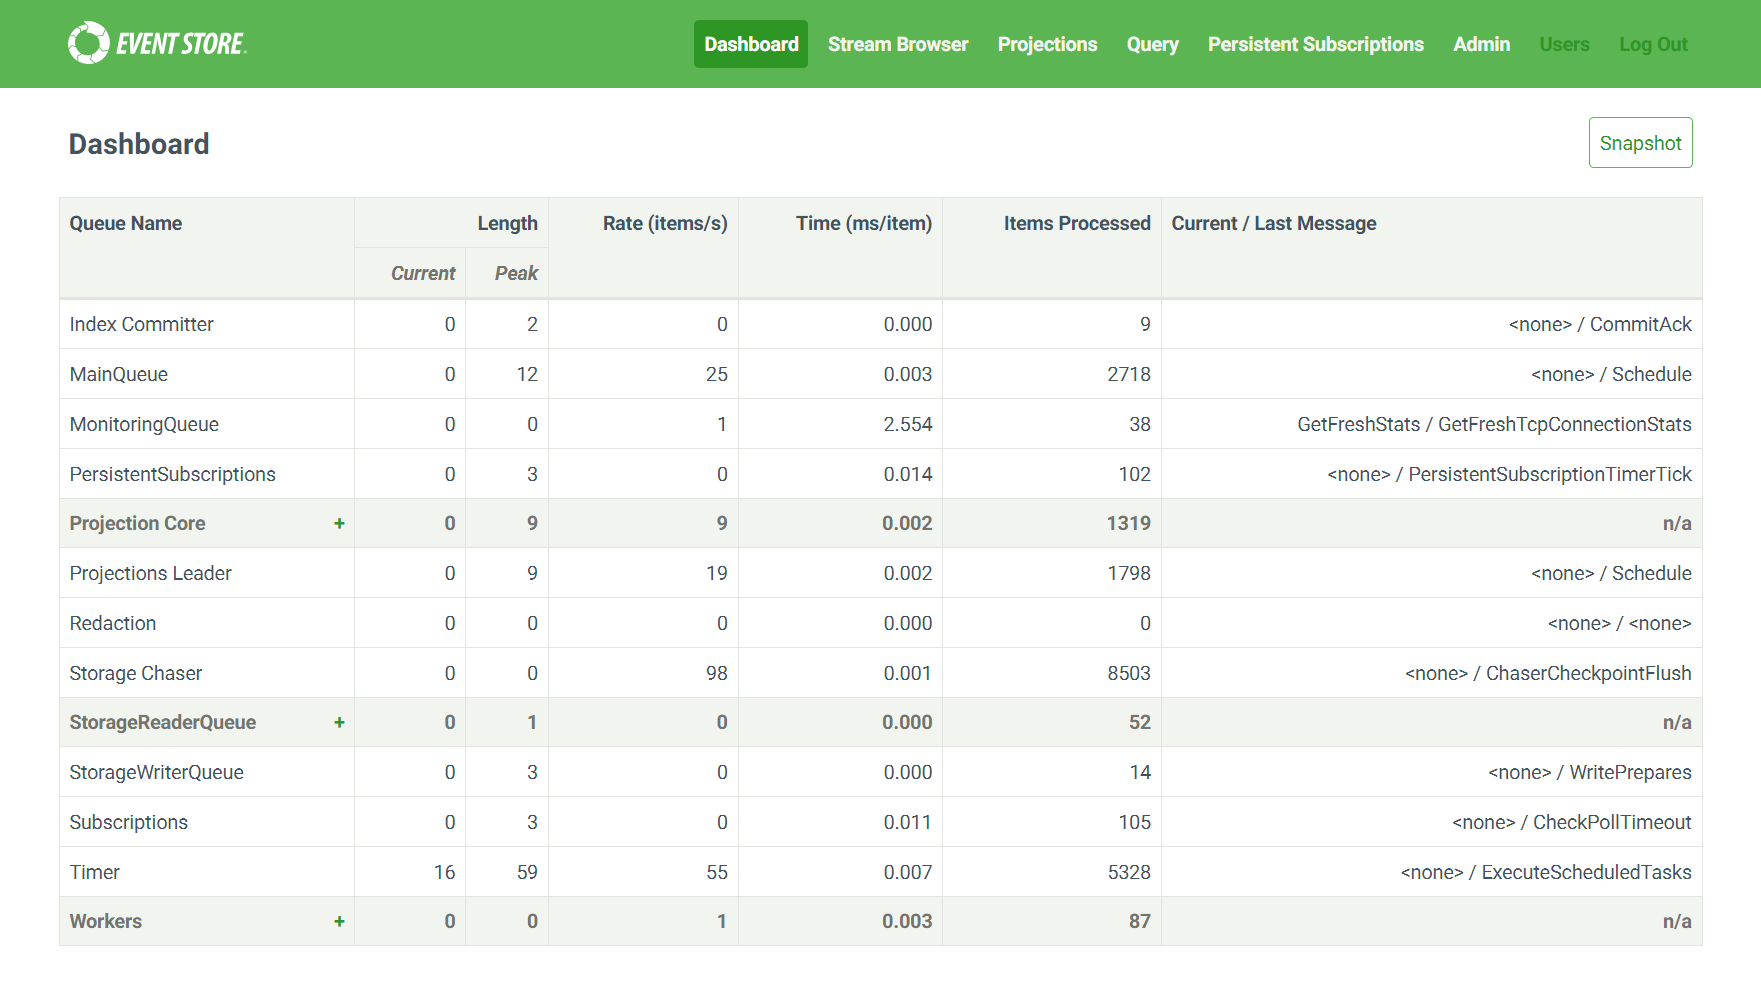
Step 3: Navigate to the KurrentDB Admin UI
- In Codespaces, copy the URL to KurrentDB Admin UI printed in the terminal from last step.
- Open a new browser tab.
- In the address bar of the new tab, paste the URL to and navigate to it.
- This will display the KurrentDB Admin UI.
- Keep the Admin UI open for the next steps.
Step 4: Install Required Package for Sample Code
- In Codespace, run this command to install the package for the KurrentDB client. This will be used in the sample codes:
pip install -r requirements.txtmvn packageThis step is not required for .NET. Please continue to the next step.
yarn install(Optional) Learn more about the KurrentDB client packages
Understanding Required Packages for KurrentDB Development
The KurrentDB client packages enable your code to connect to the database, append events, and read events from streams in the language/platform of your choice.
To understand what packages are installed, follow these steps:
- Run the following command to examine package dependencies:
code ./requirements.txtcode ./pom.xmlcode ./SampleAppend/SampleAppend.csprojcode ./package.jsonTips
Alternatively, you can locate and open the file from the EXPLORER window on the left of Codespaces. You can find the path to the file in the command above.
- Review the KurrentDB client packages listed as dependencies:
kurrentdbclient==1.0.19<dependency>
<groupId>io.kurrent</groupId>
<artifactId>db-client-java</artifactId>
<version>1.0.0</version>
</dependency>For the most recent version of the KurrentDB client package, see Maven Central.
<ItemGroup>
   <PackageReference Include="EventStore.Client.Grpc.Streams" Version="23.1.0" />
</ItemGroup>"dependencies": {
"@kurrent/kurrentdb-client": "^6.1.0"
}Note
The version of the KurrentDB client above may be outdated. For more information about the client, click here.
Info
To view the source code in GitHub, click the link below:
Step 5: Append an Event to KurrentDB
- In Codespaces, run this command to execute the sample. This appends an event to KurrentDB:
python3 sample_append.pyjava -cp \
target/eventstoredb-demo-1.0-SNAPSHOT-jar-with-dependencies.jar \
io.kurrentdb_demo.SampleWritedotnet run --project SampleAppend/node sample_append.js- You should see a confirmation for the event append, similar to this:
************************
🎉 Congratulations, you have written an event!
Stream: SampleStream
Event Type: SampleEventType
Event Body: {"id":"1","importantData":"some value"}
************************"
(Optional) Learn more about the sample code
Understanding How the Append Sample Works
To deepen your understanding of how events are appended to KurrentDB programmatically, you will explore the sample code used in this step.
The sample code demonstrates:
- Establishing a Connection: Connect to KurrentDB using the client library.
- Creating an Event: Create a new event with a specific type and data payload.
- Appending the Event to a Stream: Append the new event to a specific stream.
To see how this works, follow these steps:
- Run the following command to open sample code:
code ./sample_append.pycode ./src/main/java/com/eventstoredb_demo/SampleWrite.javacode ./SampleAppend/Program.cscode ./sample_append.jsTips
Alternatively, you can locate and open the file from the EXPLORER window on the left of Codespaces. You can find the path to the file in the command above.
- In step 1 of the code, review how the client connects to KurrentDB:
# Create an instance of KurrentDBClient, connecting to the KurrentDB at localhost without TLS
client = KurrentDBClient(uri="kurrentdb://localhost:2113?tls=false")// configure the settings to connect to KurrentDB locally without TLS
KurrentDBClientSettings settings = KurrentDBConnectionString.parseOrThrow("kurrentdb://localhost:2113?tls=false");
// apply the settings and create an instance of the client
KurrentDBClient client = KurrentDBClient.create(settings);// Create an instance of EventStoreClientSettings, connecting to the KurrentDB at localhost without TLS
var settings = EventStoreClientSettings.Create("kurrentdb://localhost:2113?tls=false");
await using var client = new EventStoreClient(settings);// Create an instance of KurrentDBClient, connecting to the KurrentDB at localhost without TLS
const client = KurrentDBClient.connectionString("kurrentdb://localhost:2113?tls=false");- In step 2 of the code, review how a new event is initiated:
event_type = "SampleEventType"                        # Define the event type for the new event
new_event = NewEvent(                                 # Create a new event with a type and body
    type=event_type,                                  # Specify the event type
    data=b'{"id":"1", "importantData":"some value"}'  # Specify the event data body as a JSON in byte format
)// Build the KurrentDB event data structure
String eventType = "SampleEventType"; // Define the name of the event type for the new event
byte[] eventBody = "{\"id\":\"1\", \"importantData\":\"some value\"}" // Define the body of the event in a UTF8 encoded byte array
.getBytes(StandardCharsets.UTF_8);
EventData eventData =
EventData.builderAsJson(eventType, eventBody) // Create the new event object with the type and body
.build();var eventType = "SampleEventType"; // Define the event type for the new event
var eventData = new EventData( // Create a new event with a type and body
Uuid.NewUuid(), // Specify a new UUID for the event
eventType, // Specify the event type
@"{""id"": ""1"", ""importantData"": ""some value""}"u8 // Specify the event data body as JSON encoded with UTF8
.ToArray() // Convert the body into a byte array
);const eventType = "SampleEventType" // Define the event type for the new event
const event = jsonEvent({ // Create a new event with a type and body
type: eventType, // Specify the event type
data: { //
"id":"1", "importantData":"some value" // Specify the event data body
},
});- In step 3 of the code, review how the client appends the new event to KurrentDB:
event_stream = "SampleStream"        # Define the stream name where the event will be appended
client.append_to_stream(             # Append the event to a stream
    event_stream,                    # Name of the stream to append the event to
    events=[new_event],              # The event to append (in a list)
    current_version=StreamState.ANY  # Set to append regardless of the current stream state (you can ignore this for now)
)// Set append option to append regardless of what revision the stream is at (i.e. disable concurrency check)
AppendToStreamOptions options = AppendToStreamOptions.get().expectedRevision(ExpectedRevision.any());
// Append event to stream
String eventStream = "SampleStream";
client.appendToStream(eventStream, options, eventData).get();var eventStream = "SampleStream"; // Define the stream name where the event will be appended
await client.AppendToStreamAsync( // Append the event to a stream
eventStream, // Name of the stream to append the event to
StreamState.Any, // Set to append regardless of the current stream state (you can ignore this for now)
[eventData] // The event to append (in a list)
);const eventStream = "SampleStream";
await client.appendToStream(eventStream, event); // append the event to the stream- Feel free to modify and re-run the sample in your Codespace.
Info
To learn more about other KurrentDB client functions, click here.
Info
To view the source code in GitHub, click the link below:
Step 6: Verify the Appended Event in the Admin UI
In the Admin UI, click the
Stream Browserlink from the top navigation bar.Under
Recently Changed Streams, clickSampleStreamlink.Click on the
JSONlink in the rightmost column of the table.You should see the content of the appended event.
Step 7: Read the Event from KurrentDB Programmatically
- In Codespaces, run this command to execute the sample. This reads the event from KurrentDB:
python3 sample_read.pyjava -cp \
target/eventstoredb-demo-1.0-SNAPSHOT-jar-with-dependencies.jar \
io.kurrentdb_demo.SampleReaddotnet run --project SampleRead/node sample_read.js- You should see the content of the appended event similar to this:
************************
You have read an event!
Stream: SampleStream
Event Type: SampleEventType
Event Body: {"id":"1","importantData":"some value"}
************************"
(Optional) Learn more about the sample code
Understanding How the Read Sample Works
You will explore the sample code used in this step to further understand how events are read from KurrentDB programmatically. The sample code demonstrates the following:
- Establishing a Connection: Illustrates how to connect to KurrentDB using the client library.
- Reading Events from a Stream: Reads events from a specific stream.
- Processing Retrieved Events: Iterates over the events retrieved from the stream.
- Deserializing Event Data: Extracts and deserializes the event data from the retrieved events.
- Displaying Event Information: Prints out the event details—such as the stream name, event type, and event body—to the console.
- Run the following command to open sample code:
code ./sample_read.pycode ./src/main/java/com/eventstoredb_demo/SampleRead.javacode ./SampleRead/Program.cscode ./sample_read.jsTips
Alternatively, you can locate and open the file from the EXPLORER window on the left of Codespaces. You can find the path to the file in the command above.
- In step 1 of the code, review how the client connects to KurrentDB:
# Create an instance of KurrentDBClient, connecting to the KurrentDB at localhost without TLS
client = KurrentDBClient(uri="kurrentdb://localhost:2113?tls=false")// configure the settings to connect to KurrentDB locally without TLS
KurrentDBClientSettings settings = EventStoreDBConnectionString.
parseOrThrow("kurrentdb://localhost:2113?tls=false");
// apply the settings and create an instance of the client
KurrentDBClient client = KurrentDBClient.create(settings);// Create an instance of EventStoreClientSettings, connecting to the KurrentDB at localhost without TLS
var settings = EventStoreClientSettings.Create("kurrentdb://localhost:2113?tls=false");
await using var client = new EventStoreClient(settings);// Create an instance of KurrentDBClient, connecting to the KurrentDB at localhost without TLS
const client = KurrentDBClient.connectionString("kurrentdb://localhost:2113?tls=false");- In step 2 of the code, review how the client reads all the events from the stream:
events = client.get_stream("SampleStream") # Read all events from SampleStreamReadStreamOptions options =
ReadStreamOptions.get() // Create a read option for client to read events
.forwards() // Client should read events forward in time
.fromStart() // Client should read from the start of stream
.maxCount(10); // Client should read at most 10 events
// get events from stream
String eventStream = "SampleStream";
ReadResult result = client.readStream(eventStream, options).get();var events = client.ReadStreamAsync( // Read events from stream
Direction.Forwards, // Read events forward in time
"SampleStream", // Name of stream to read from
StreamPosition.Start // Read from the start of the stream
);// Read events from the SampleStream
const stream_name = "SampleStream"; // Define the name of the stream to read from
let events = client.readStream( // Read events from stream
stream_name, // Specify the stream name
{ //
fromRevision: START, // Read from the start of the stream
direction: FORWARDS, // Read events forward in time
maxCount: 20 // Read at most 20 events
}
);- In step 3 of the code, review how the events are deserialized and printed:
for event in events:                             # For each event
   print("************************");            #
   print("You have read an event!");             #
   print("Stream: " + event.stream_name);        # Print the stream name of the event
   print("Event Type: " + event.type);           # Print the type of the event
   print("Event Body: " + event.data.decode());  # Print the body of the event after converting it to string from a byte array
   print("************************");
for (ResolvedEvent resolvedEvent : result.getEvents()) {                          // For each event in stream
   RecordedEvent recordedEvent = resolvedEvent.getOriginalEvent();                // Get the original event (can ignore for now)
                                                                                  //
   System.out.println("************************");                                //
   System.out.println("You have read an event!");                                 //
   System.out.println("Stream: " + recordedEvent.getStreamId());                  // Print the stream name of the event
   System.out.println("Event Type: " + recordedEvent.getEventType());             // Print the type of the event
   System.out.println("Event Body: " + new String(recordedEvent.getEventData(),   // Print the body of the event after converting it from a byte array
                                                   StandardCharsets.UTF_8));      // UTF8 is used to convert byte array to string
   System.out.println("************************");
}await foreach (var evt in events) { // For each event in stream
Console.WriteLine("************************"); //
Console.WriteLine("You have read an event!"); //
Console.WriteLine("Stream: " + evt.Event.EventStreamId); // Print the stream name of the event
Console.WriteLine("Event Type: " + evt.Event.EventType); // Print the type of the event
Console.WriteLine("Event Body: " + Encoding.UTF8.GetString( // Print the body of the event. convert the byte array to string
evt.Event.Data.ToArray())); // Gets the event body as a byte array
Console.WriteLine("************************");
}for await (const resolvedEvent of events) { // For each event found in SampleStream
console.log("************************"); //
console.log("You have read an event!"); //
console.log("Stream: " + resolvedEvent.event?.streamId); // Print the stream name of the event
console.log("Event Type: " + resolvedEvent.event?.type); // Print the type of the event
console.log("Event Body: " + JSON.stringify(resolvedEvent.event?.data)); // Print the body of the event as a string
console.log("************************");
}- Feel free to modify and re-run the sample in your Codespace.
Info
To learn more about other KurrentDB client functions, click here.
Info
To view the source code in Github, click the link below:
Summary
In this quickstart, you:
- Started the KurrentDB server.
- Navigated to the Admin UI.
- Appended an event to KurrentDB.
- Verified the event in the Admin UI.
- Read the event from KurrentDB programmatically.
Feel free to experiment further by appending more events, reading them, or even exploring advanced features of KurrentDB!
Next Steps
Now that you've completed the quickstart, you may want to explore the following:
KurrentDB "From Scratch" Series: Find more explanations about the scripts and samples used in this quickstart along with other beginner tutorials.
Install KurrentDB locally: Learn how to install KurrentDB on your local machine for deeper exploration and integration with your projects.
KurrentDB Client SDK Documentation: Understand how to interact with KurrentDB programmatically with KurrentDB clients.
KurrentDB Server Configuration Documentation: Explore how to configure KurrentDB for your environment.
Kurrent Cloud: Run KurrentDB from the fully managed environment without the need to host it yourself.
KurrentDB Samples: Experiment with different SDKs to interact with KurrentDB using various programming languages.